
Turn Festive Works of String Art Into Picture Frames
by A.V. Bautista, production designer and kooky Klutz crafter
‘Tis the season to be stringin’ and it’s
excitingly easy!
There are so many awesome string art projects in
the String Art book from KLUTZ.

Once you’ve given a couple projects a try,
you’ll be eager to venture out on your own to make any string art you can
imagine.
Inspired by the holidays, I thought it would be
crazy cool to make a snowflake string frame. And to keep in the spirit of
giving and sharing, here’s how I did it.
What
you’ll need:
- Pins (from the STRING ART book)
- Pinning tool (from the STRING ART book)
- String (from the STRING ART book or any of your own)
- Glue
- Tape
- Cardboard boxes
- Wrapping paper
- Art to trace and turn into string art
- A photo to place in the center
Step
1
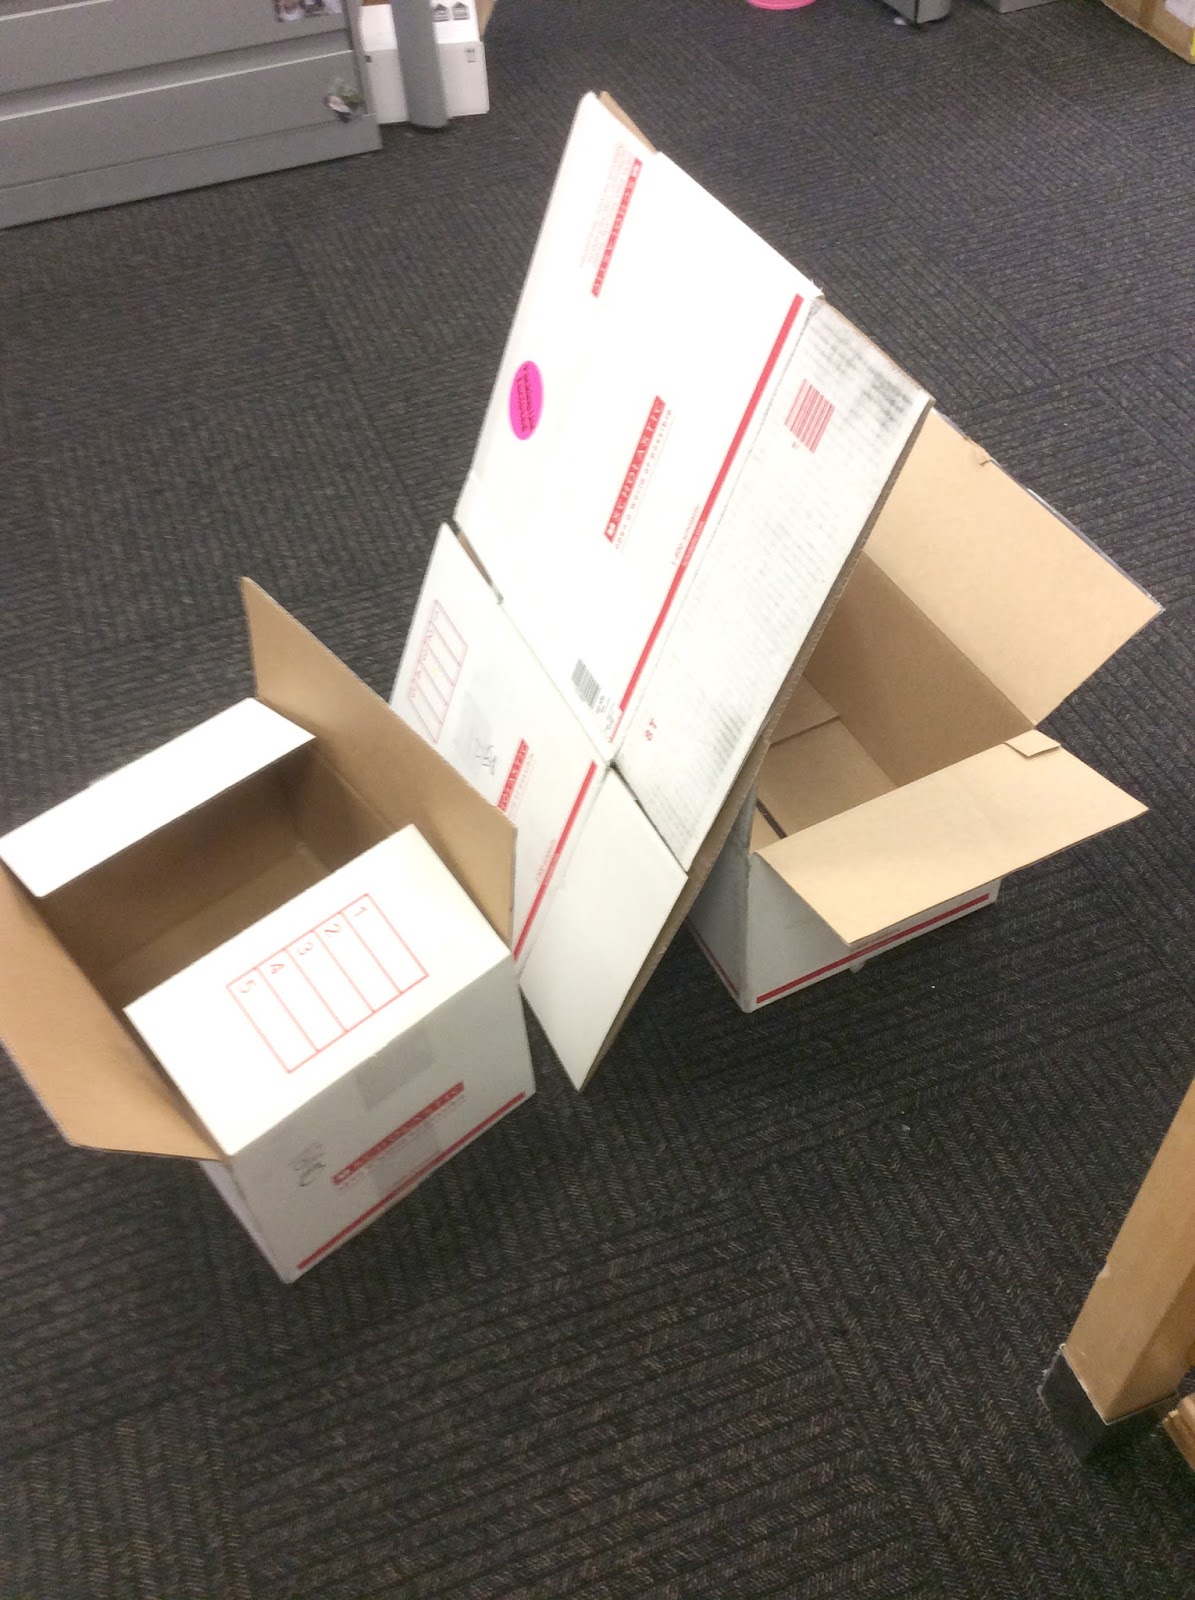
Get cardboard boxes and cut them up to whatever
size you want for your art. My boxes aren’t big enough so I’m sticking multiple
pieces together to make a larger piece.

Step
2
Glue three cardboard sheets together in a stack. The
goal is to make cardboard that’s as thick as the pieces included in the STRING ART book. The thick cardboard
will help hold the pins up.


Step
3
Get wrapping paper that would make a good
background for your art. For my snowflake string art design, I’ll be using a wintery
snowflake wrapping paper background. Make sure to cut your wrapping paper
to a size slightly bigger than your cardboard base (about 1 ½ inches around the
edges).

Step
4
Wrap and tape wrapping paper over your cardboard
base. Make sure it covers one side completely.

Step
5
Print or draw a design on paper to use as a
stencil for your string art frame. At the center of my shimmering snowflake
I’ve left a hole for a photo. The center could be any shape: a circle, a rectangle,
a heart perhaps for a valentine? Whatever you can think of. Place it right in
the center.

Step
6
Pin all around the perimeter of your shape. Be
sure to use the pinning tool from String Art. This will make your pinning go faster, keep all of the pins the
same height (and straight!), and will protect your fingers from getting strained
and tired. This tool is also great because it has an end that lets you pull the
pins out if you make a mistake.

Step
7
After pinning around your center shape, rip off
the paper with your traced or printed design. Thinner paper will rip off
easier. My paper was thick, so I had to rip it off little by little.


Step
8
It’s stringin’ time! Wrap string around your pins
to create your design. If you’re wondering how to string, the book has several
marvelous methods that can help with your super-stylish string art.

Step
9
Cut a photo to fit inside the size and shape of
your frame.

Step
10
Tape or glue your photo.
Step
11
Ta-da! Stringin’ like you’ve never seen before! Now
find a nice spot to display your masterpiece or wrap it up for someone special.


No comments :
Post a Comment
To insert an image into your comment, wrap it in [im][/im], like this:
[im]Image URL Here[/im]
eg. [im]http://scholastic.ca/kids/klutz/images/logo_klutz.gif[/im]
Note: your image must be hosted somewhere on the internet for it to be visible.