Showing posts with label string. Show all posts

Wednesday, 23 December 2015

Wintery String Art Photo Frame

Turn Festive Works of String Art Into Picture Frames
by A.V. Bautista, production designer and kooky Klutz crafter

‘Tis the season to be stringin’ and it’s excitingly easy!

There are so many awesome string art projects in the String Art book from KLUTZ. 


Once you’ve given a couple projects a try, you’ll be eager to venture out on your own to make any string art you can imagine.


Inspired by the holidays, I thought it would be crazy cool to make a snowflake string frame. And to keep in the spirit of giving and sharing, here’s how I did it.

What you’ll need:
  • Pins (from the STRING ART book)
  • Pinning tool (from the STRING ART book)
  • String (from the STRING ART book or any of your own)
  • Glue
  • Tape
  • Cardboard boxes
  • Wrapping paper
  • Art to trace and turn into string art
  • A photo to place in the center 
Step 1
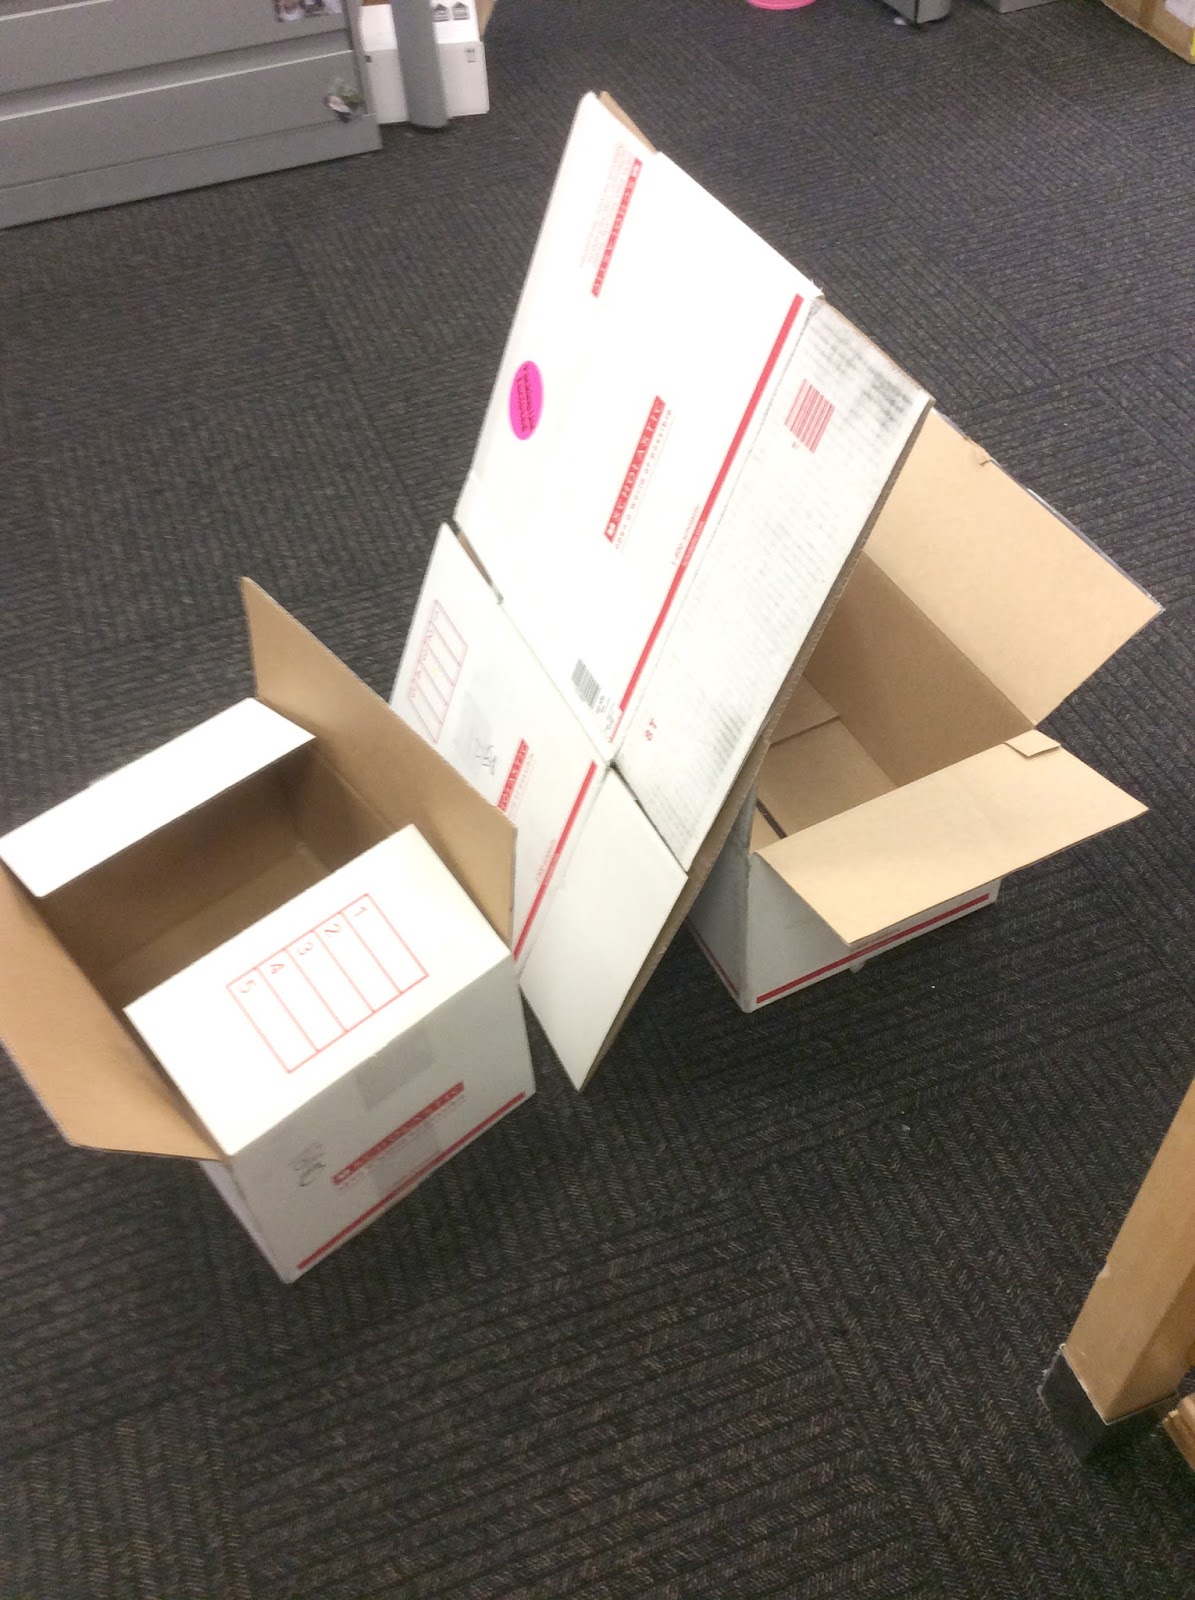
Get cardboard boxes and cut them up to whatever size you want for your art. My boxes aren’t big enough so I’m sticking multiple pieces together to make a larger piece.


Step 2
Glue three cardboard sheets together in a stack. The goal is to make cardboard that’s as thick as the pieces included in the STRING ART book. The thick cardboard will help hold the pins up. 


Step 3
Get wrapping paper that would make a good background for your art. For my snowflake string art design, I’ll be using a wintery snowflake wrapping paper background. Make sure to cut your wrapping paper to a size slightly bigger than your cardboard base (about 1 ½ inches around the edges). 


Step 4 
Wrap and tape wrapping paper over your cardboard base. Make sure it covers one side completely.


Step 5
Print or draw a design on paper to use as a stencil for your string art frame. At the center of my shimmering snowflake I’ve left a hole for a photo. The center could be any shape: a circle, a rectangle, a heart perhaps for a valentine? Whatever you can think of. Place it right in the center.


Step 6
Pin all around the perimeter of your shape. Be sure to use the pinning tool from String Art. This will make your pinning go faster, keep all of the pins the same height (and straight!), and will protect your fingers from getting strained and tired. This tool is also great because it has an end that lets you pull the pins out if you make a mistake.


Step 7
After pinning around your center shape, rip off the paper with your traced or printed design. Thinner paper will rip off easier. My paper was thick, so I had to rip it off little by little.


Step 8
It’s stringin’ time! Wrap string around your pins to create your design. If you’re wondering how to string, the book has several marvelous methods that can help with your super-stylish string art. 


Step 9
Cut a photo to fit inside the size and shape of your frame.


Step 10
Tape or glue your photo.

Step 11
Ta-da! Stringin’ like you’ve never seen before! Now find a nice spot to display your masterpiece or wrap it up for someone special.


Friday, 18 September 2015

String Art Made Me a Better Cook!

by Rachele Harmuth—a salesperson by trade, a crafter by choice, and a somewhat acceptable cook by necessity. 
 
Surround me with glue and paper and pom-poms and I’m in my element. Instinct sets in, creative juices flow, and all is right with the world. 
Surround me with veggies, knives, and a cutting board, and well . . . let’s just say there is no “instinct” and certainly no creative juices. To my credit though, when I have enough focused, uninterrupted time and a good recipe, I can create a pretty decent meal. Did you see the key words? “Focused, uninterrupted time.” HA! You see, I have three fabulous kiddos and every night at dinner prep time at least one of them seems to have a total mommy-I-need-you-this-moment-or-my-life-is-over meltdown. This becomes the hour when there’s “nothing to do.” They’ve done everything, played with everything, and oddly they are never excited by my suggestion that they could always clean their rooms.
On a recent night, while I was determined to have a “real” meal of roasted chicken and potatoes, it was my 7-year-old who couldn’t find anything to do. Dragging herself into the kitchen, she flopped into a chair and declared that there was NOTHING to do because everyone was on vacation except us! Knowing what was coming, I darted into my office to see if there was anything new that might hold her attention. And that’s when I grabbed String Art.
http://store.scholastic.com/Books/Interactive-and-Novelty-Books/Klutz-String-Art

Now, I’ll be honest, I assumed String Art would be pretty hard. I imagined that the next hour would involve me bopping back and forth between her and the chicken as she declared every two minutes that she needed help, and we’d end up eating burned chicken at midnight. But hey, it was better than listening to the “I’m bored” speech. I figured we’d give it a try.

OMG. Best. Kit. Ever. 
The designs were SO cute. She wanted to do all of them. The instructions were so simple. I literally helped for about five minutes before the “Mom, I’ve got this” comment. So I stepped back into the kitchen. I kept peeking over at her but she was totally engrossed. Each step was laid out in such an accessible way. There were so many designs to choose from and she loved picking them out. She completed every step herself, from tracing to placing the pins. The special tool included with the kit took all the frustrating parts out by making each pin exactly the same height. As I glanced at her occasionally over the chicken, I noticed a really cool art piece forming under her hands. I have to say it really looked great! 

Friday, 19 December 2014

The Last Gifts on My List (with String Art from Klutz)


http://scholastic.ca/kids/klutz/crafts/stringart.htm

I like food and fashion as much as the next person, but my favourite thing to create is home décor. My apartment is an ever-rotating collage of prints, pictures, plants and knick-knacks. I switch them to match the year, the season, and sometimes even my mood. It's not terribly practical, but it sure is fun! 

When deciding what to gift to the last few people on my Christmas list, I turned to Klutz's coolest new kit, String Art, to make some new art pieces they can add to their collections.

You might recognize the idea for this fun craft from those old math class activities, but Klutz has turned that on its head to make DIY art instead! With more than 20 trendy designs, six colours of strings and 14 colourful sheets of paper to choose from, you can customize your pieces for each person on your gift list. And, I know what you're thinking, it looks totally complex... But with Klutz’s exclusive pin-pushing tool, you'll have the perfectly-placed pins you need to go wild and scribble, fan and loop some seriously cool string doodles. Make a series to hang together or print some text to make your piece complete; the possibilities are endless! I modeled one after my very favourite mug, and it's so darn cute that I just might make another to gift to myself.

 
And so, with the wrap of this last gift, my Christmas crafting is complete. Now it's time to eat, drink, be merry and share the spoils of my Klutz gift-making with my friends and family.

Merry Christmas to all!

See you in the new year!


Thursday, 31 July 2014

Back to Basics (with Cat's Cradle from Klutz)


Something about summer always makes me go back to the simple fun of my childhood, whether it’s skipping rope down the sidewalk, drawing on driveways or blowing bubbles in the backyard. Maybe it’s because, when it comes to outdoor play, simplicity rules. Or maybe I get nostalgic because, I think we can all agree, summer vacation is one of the best things about being a kid.

With a long weekend at the cottage ahead, I was reminded of the fun my little sis and I had playing car games on the drive up a couple of years back. So, I decided to break out Cat’s Cradle, the most classic kids game of all, for another spin this past weekend.

I know it seems simple--just a piece of string and some instructions--but with this little book you can have a whole lot of fun! Whether you are teaching little hands how to play (when all they want to do it gallop like a pony), racing against the clock for Cat’s Cradle mastery or using leftover Pom Pom Puppies yarn to stage a giant-sized game, this summer game will always be among the best!